
Deciding where to place a smart speaker is always an important step for your smart home or office. With the Google Nest Mini and similar small smart speakers, Google has added an interesting alternative — the ability to mount the Mini on a nearby wall. This option clears up space and could be better for listening to music or giving voice commands, depending on how you want to use it.
Sound like a good idea? Here’s what to consider and exactly how to mount your device. While this article focuses on the Nest Mini, you can still technically wall-mount the original Google Home Mini by adding an attachment.
Before you worry about wall-mounting, you should first turn on and set up your Nest Mini. Connect it to the Google Home app and ensure everything is working correctly. Technically, it’s possible to set it up after wall mounting, but you’ll want the device close at hand during set up: You may need to do a manual reset during the setup process, or find that your intended placement is too far away from your Wi-Fi router for proper operation.
Don’t worry if you’re new to smart speakers: We have a guide on how to set up Nest devices that you may find useful!
You should place the speaker in a place that’s accessible, within easy range to hear voice commands, and at the proper position for listening to music, etc. Shoulder height seems to be a common choice, but much depends on your environment and how you want to use the Mini device. It’s all right to spend as much time on this step as necessary.
Keep in mind the Nest Mini and similar speakers need to be connected to their cables while in use, so it’s a good idea to choose a spot where it’s easy (or less distracting) to run a cable to the device. Try running the cable from a nearby outlet to make sure that it will reach where you want to hang the Mini.
Once you’ve found the right spot, mark it with a pencil so you are ready for the next step.
Now it’s time to install your screw in the wall — but not just any screw will work. Flip over the Nest Mini and look at the small gap in the back. This space is specifically designed for mounting the Mini on a wall, and it requires a specific screw: An #8 Pan Head screw.
Fortunately, these screws are easy to find, and there’s a good chance you may have some lying around. If not, you can quickly order a pack like these. Note that these include anchors, which you will need if you are working with drywall or a similar material. And while some anchors say that they are self-drilling, you may want a handheld drill nearby in case that isn’t the case.
If you’re working with wood instead of drywall or sheetrock, having an anchor isn’t as important, but you should still be using a sturdy screw. Avoid using nails, as they can slip or vibrate out of position over time.
The length of the screw is not really important, but you will want to grab a tape measure or ruler for installation. Leave a two-millimeter space between the head of the screw and the wall. This space is just enough for a device like the Nest Mini to rest comfortably but firmly against the wall without any weird gaps showing.
You’ve done all the hard work, so this step should be easy. Line up the space built into the back of the Nest Mini with the head of the screw, and hang it against the wall. Some small adjustments may be necessary to get it just where you want it.
Once you mount the Nest Mini, you can run the cable where you want it and to the outlet. Hooks, cable guides, and other organizational tools may help if you want to hide the cable under a shelf or windowsill, or behind a desk, etc. Don’t staple or tack the cable, as this can easily cause damage.
Mounting something like the Nest Mini can create a problem — the LED lights used for device control on the unit may be flipped or awkwardly positioned compared to when the speaker is resting on a table. Fortunately, Google thought of this and made a workaround: You can flip the device controls on your Nest Mini. Go to your Google Home App, and select your Nest Mini from the device list. Select Settings (usually in the top right), and then select Reverse Device Controls. Enable it and see if you like this positioning better.
Related Posts
Top Smart Home Upgrades Worth Making Before Your Summer Break
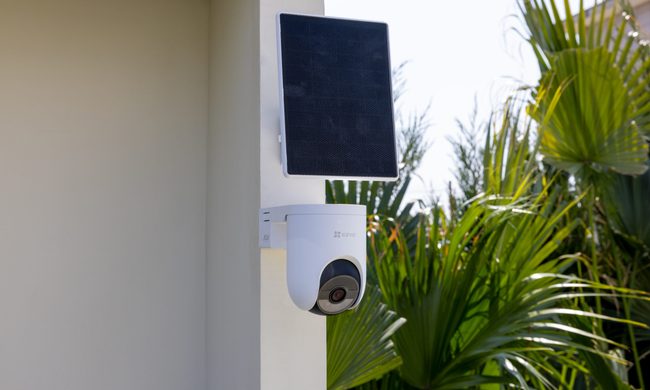
Modern smart home technology makes those situations easier to manage. Today's connected devices can do far more than record footage or send motion alerts. They can help homeowners monitor outdoor spaces around the clock, stay informed about important activity, communicate with visitors remotely, and manage entry without needing to be physically present. Instead of constantly checking in or wondering whether everything is running smoothly back home, the right setup can provide greater visibility, convenience, and peace of mind throughout the season.
EZVIZ Sets a New Benchmark for Battery Powered Home Surveillance
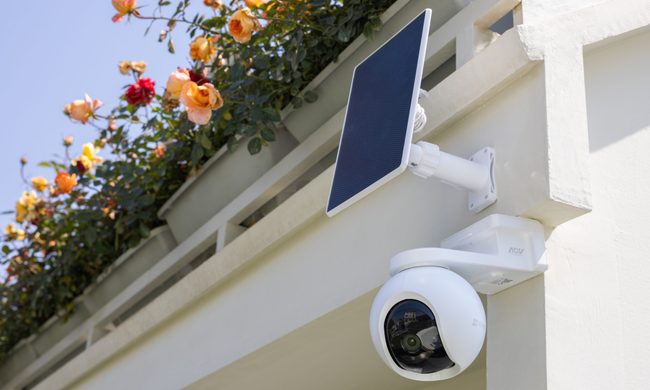
This shift has also raised expectations. Modern users want more than clear video. They expect smart detection, reliable monitoring, seamless smart home integration, and solutions that adapt to different property sizes and lifestyles. As one of the world's leading smart home camera brands, EZVIZ has responded by building one of the industry's most comprehensive portfolios of battery-powered cameras. The lineup is designed to serve every living situation, whether for renters or owners of apartments, condominiums, or villas. From accessible options for everyday monitoring to advanced multi-lens systems for larger and more demanding environments, the portfolio reflects a strong focus on innovation, user-centric design, and real-world needs.
Beatbot AquaSense X review: The pool cleaner for those that want to be pampered
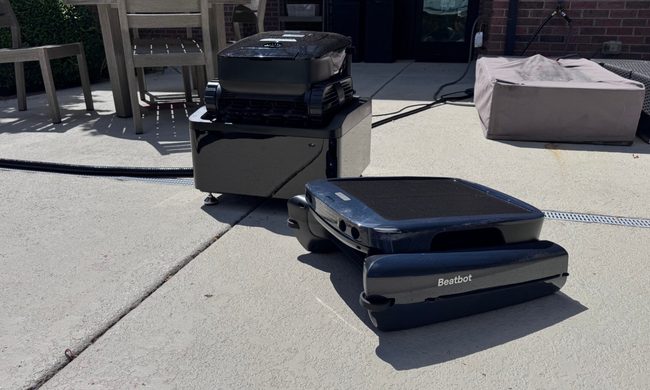
Quick take: