
The Blink Mini 2 is a great security camera that won’t break your budget. The tiny device costs just $40, and it’s quickly become a popular security device that competes with products at much higher price points. But while there’s much to love about the Blink Mini 2, the new camera isn’t without a few issues.
Thankfully, fixing the most common Blink Mini 2 problems is usually a simple process that requires just a few minutes of your time. From getting rid of a red LED light to adjusting motion settings, here’s a look at frequently reported Blink Mini 2 issues and what you can do to resolve them.
Not impressed with the video quality of the Blink Mini 2? While it can’t film in 4K, it does support 1080p – which should look great on most smartphone displays. Blink gives you three options to modify video quality, with settings for Best, Standard, and Saver. These can be found by selecting the three dots on the device’s thumbnail, then selecting Device Settings. Next, select Video and Photo Settings. Here, you’ll find the Video Quality submenu. Dive into this to choose between Best, Standard, and Saver options.
If your Blink Mini 2 has a solid red light, it means your camera cannot connect to your network. This could be due to a few things. The first thing to check is that your internet connection is stable. If it is, consider double-checking if you entered the right password. If that doesn’t work, you may need to move your camera closer to your router, as the signal might be too weak to form a connection.
Though it might look concerning, a blinking red light on the Blink Mini 2 isn’t actually a problem. This indicates the camera is starting up, and you’ll likely only see the flashing red light after plugging the device in or restarting it. Give it a few minutes, and the LED indicator should change to a combination of blue and green – or turn off entirely if it’s already set up and connected to Wi-Fi.
Getting too many alerts from your Blink Mini 2? Then it might be time to dive into its Settings menu and tinker with its motion zones and sensitivity options. To do this, just open the Blink app and find your device. Then, select the More button and find Device Settings. From here, select Motion Settings. On this screen, you can adjust the sensitivity of motion detection for the Blink Mini 2. You can also select the Motion Zones option to create or remove Motion Zones – ensuring only certain parts of your property will trigger alerts.
If you’re having a lot of trouble with your Blink Mini 2, it might be time to perform a reset. This can be done by plugging in your device, then pressing and holding the reset button (located on the bottom of the camera) for five seconds.
Related Posts
Top Smart Home Upgrades Worth Making Before Your Summer Break
Modern smart home technology makes those situations easier to manage. Today's connected devices can do far more than record footage or send motion alerts. They can help homeowners monitor outdoor spaces around the clock, stay informed about important activity, communicate with visitors remotely, and manage entry without needing to be physically present. Instead of constantly checking in or wondering whether everything is running smoothly back home, the right setup can provide greater visibility, convenience, and peace of mind throughout the season.
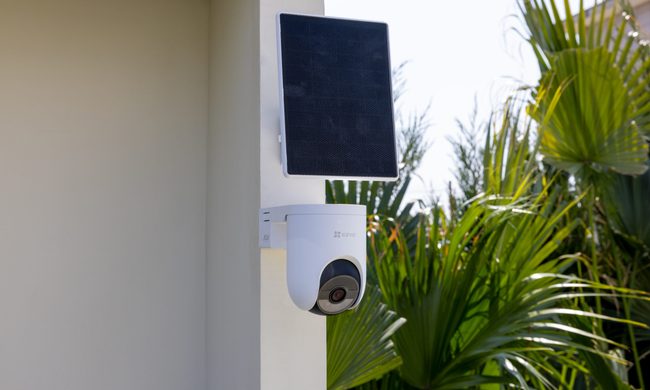
EZVIZ Sets a New Benchmark for Battery Powered Home Surveillance
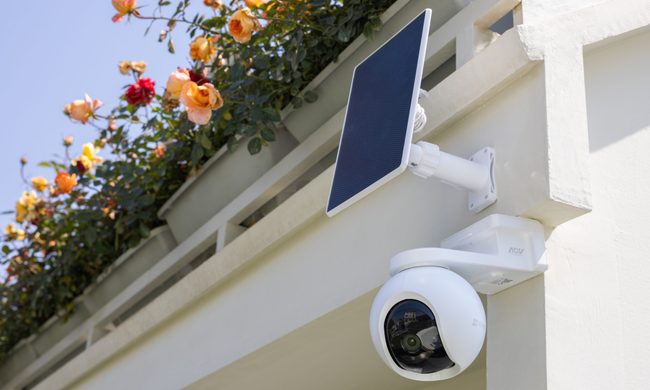
This shift has also raised expectations. Modern users want more than clear video. They expect smart detection, reliable monitoring, seamless smart home integration, and solutions that adapt to different property sizes and lifestyles. As one of the world's leading smart home camera brands, EZVIZ has responded by building one of the industry's most comprehensive portfolios of battery-powered cameras. The lineup is designed to serve every living situation, whether for renters or owners of apartments, condominiums, or villas. From accessible options for everyday monitoring to advanced multi-lens systems for larger and more demanding environments, the portfolio reflects a strong focus on innovation, user-centric design, and real-world needs.
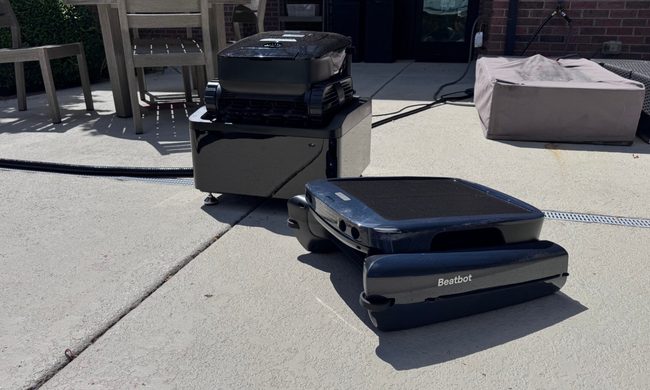
Beatbot AquaSense X review: The pool cleaner for those that want to be pampered
Quick take: