
We were seriously impressed with Google’s latest version of the Nest Doorbell, a battery-powered video doorbell cam with great A.I. detection features that fits perfectly into the Nest ecosystem of smart devices. It’s also designed for do-it-yourself (DIY) installation — although owners can still benefit from a few tips. Our walkthrough will make installing the battery version of the Nest Doorbell completely painless.
Note: This guide covers the latest battery-powered version. Some versions of the Nest video doorbell line are wired, not battery-powered. Wired models may not be compatible with every doorbell system and take a bit more work to connect even if you do have electrical experience. Make sure you know which model of Nest video doorbell you have before you begin!
Picking a location for the video doorbell isn’t always covered, but it’s a really important part of the installation. You need to find a spot by your door that has both a good vantage point to watch the porch area and an easy reach for activating the doorbell. Placing the doorbell on your door’s trim is a common choice, but this will cause some small damage to the trim, so make sure it’s where you want it. Installing it on nearby siding may also be possible, but some siding is made of tough composite materials that will resist drilling and screws.
When in doubt, place the doorbell about 4 to 5 feet off the ground. That may seem low, but video doorbell cameras are designed to work at this location. You will also need a 2.25-inch space above the doorbell so you have enough room to remove it for charging. Mark the spot with a pencil when you are ready.
What specific tools you need may vary based on your situation, but it’s a good idea to gather these tools in preparation:
Sign in to your Google Home app. If you haven’t done this before, you’ll need to use your Google account login, so keep that handy. Select Add a New Device, and when prompted, scan the Nest’s QR code. The QR code is on the back of the Nest Doorbell (which is why it’s easier to do this step now than wait).
Plug the Doorbell in to make sure it’s fully charged before installing it. This is an excellent time to use the Google Home app prompts to connect it to your Wi-Fi network. Select a location (Front Door is going to be a common choice here), and connect the Nest Doorbell. If given an option, choose the battery model.
Eventually, Google will prompt you to take the video doorbell to your door. With the Doorbell connected to your network, take it outside and place it on the pencil marking you made. Check that the light above the cam is still green (signaling it’s connected), and use the live feed testing screen to make sure the video footage is strong.
If you aren’t getting a good Wi-Fi connection, try repositioning the doorbell. You can try the other side of the door, for example — but it’s not a good idea to adjust the height away from recommended levels. It may be easier to simply move the router inside your home closer to the front door.
Using your original pencil mark as a starting place, position the metal base plate for the Doorbell, and mark the two circles where the screws will go.
Important note: The Nest Doorbell also comes with a wedge you can use to change the angle of the doorbell. This usually isn’t necessary except for odd setups (like putting the doorbell on a side well), but if you are using the wedge, you will need to attach it first, so mark the screw locations with the wedge instead of the base plate.
When ready, drill a hole at each screw location using your 6mm (1/4-inch) drill bit. Use the smaller drill bit if you need to create starter holes on especially tough materials (although, again, not all materials can be successfully drilled).
The screws for the doorbell come with anchors, which you can tap into the holes with a hammer. This is a good idea, especially if you are working with stucco, brick, or materials that may erode over time, like drywall. When finished, use your screwdriver to screw the base plate into the holes.
Two important notes: First, the base plate needs to be positioned with the “G” logo facing up. Second, the screws also come with small, flexible, washer-like buffers you can use to help level the base plate on uneven surfaces. You don’t need to use them, but they may come in handy.
Align the Nest Doorbell on the base plate. The camera will be on the top and the doorbell button on the bottom. When you look at the back of the doorbell, you will see a small metal circle that will align with the circular hole at the bottom of the base plate. Push the doorbell in and down until you feel it click into place.
You can now finish setup on your Google Home app and start using the doorbell. This is an excellent time to set motion zones for better detection, allow the camera to detect familiar faces, set up automated voice responses, etc.
The Nest Doorbell comes with a release key that you can insert in a hole at the top of the unit to unlock it when necessary. If you lose this key, a tool like a flathead screwdriver will work, too.
When you get an alert that you need to recharge the doorbell, unlock it and connect it to power. It generally takes around five hours to fully charge again.
Related Posts
Top Smart Home Upgrades Worth Making Before Your Summer Break
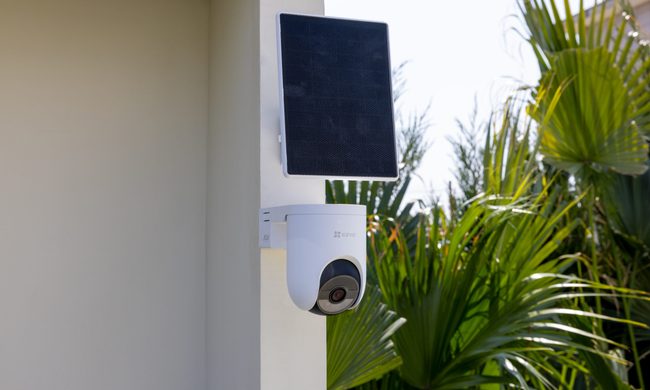
Modern smart home technology makes those situations easier to manage. Today's connected devices can do far more than record footage or send motion alerts. They can help homeowners monitor outdoor spaces around the clock, stay informed about important activity, communicate with visitors remotely, and manage entry without needing to be physically present. Instead of constantly checking in or wondering whether everything is running smoothly back home, the right setup can provide greater visibility, convenience, and peace of mind throughout the season.
EZVIZ Sets a New Benchmark for Battery Powered Home Surveillance
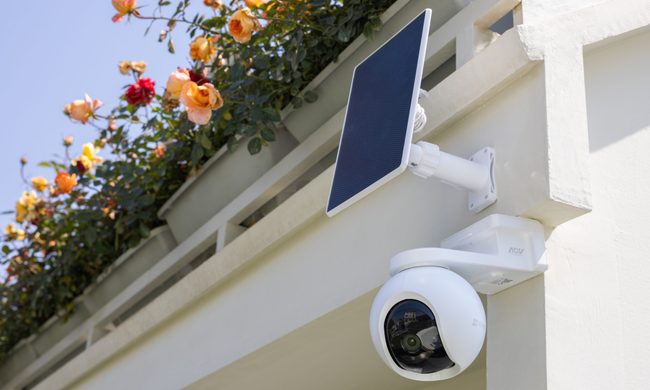
This shift has also raised expectations. Modern users want more than clear video. They expect smart detection, reliable monitoring, seamless smart home integration, and solutions that adapt to different property sizes and lifestyles. As one of the world's leading smart home camera brands, EZVIZ has responded by building one of the industry's most comprehensive portfolios of battery-powered cameras. The lineup is designed to serve every living situation, whether for renters or owners of apartments, condominiums, or villas. From accessible options for everyday monitoring to advanced multi-lens systems for larger and more demanding environments, the portfolio reflects a strong focus on innovation, user-centric design, and real-world needs.
Beatbot AquaSense X review: The pool cleaner for those that want to be pampered
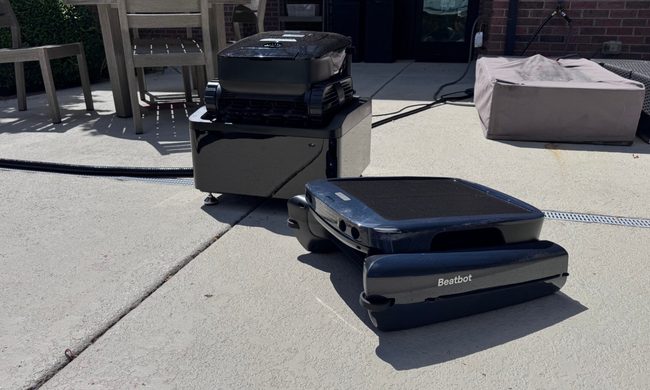
Quick take: